Joint Compound Vs. Spackle: What’s The Difference?

The more you know about home repairs and remodeling, the more confident you will be doing things yourself. If you have drywall, chances are that someone has used either joint compound or spackle on your walls.

But unless you have experience using these, you won’t know which one is which and when to use each of them. That’s why we are going to go over each of them and when to use them so you can begin your DIY journey.
What Is Joint Compound?
Joint compound is gypsum dust mixed with water. If you’ve heard of gypsum before but don’t remember where, it’s because gypsum is the main ingredient in gypsum board, or drywall/sheetrock. Yes, that drywall!
Joint compound is thus drywall that you can spread out to connect other pieces of drywall. It is made to dry to look like drywall. It works well for projects where you need a lot of the compound over a larger area.
What Is Spackle?
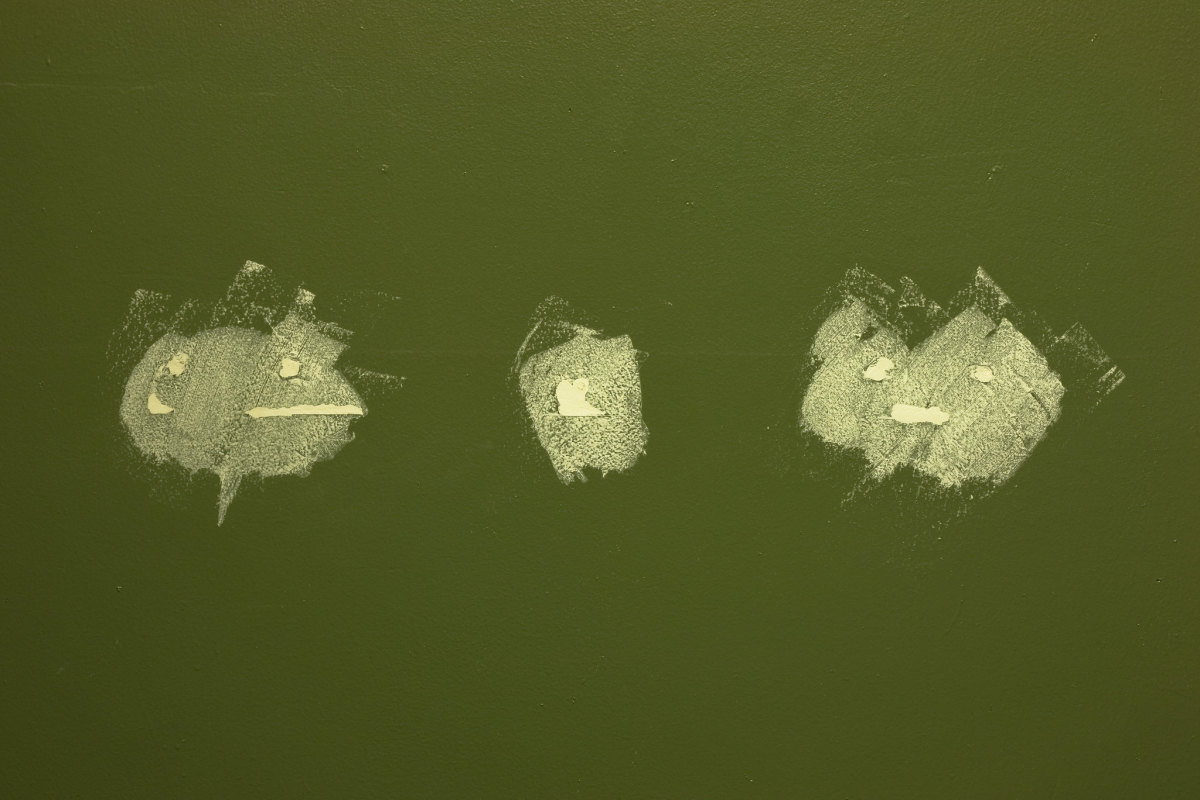
Spackle also has gypsum in it but it is thicker. It is generally used for smaller projects and repairs and not to create small walls or build upon the wall like joint compound seems to do. Spackling is for repairs.
It is very common to keep a bucket of spackling compound around so that you can have it on hand for repairs. Just make sure that it is sealed well and always close it when you are not using it, even during a project.
Joint Compound Vs. Spackle: Things To Consider

When it comes to choosing joint compound or spackle, it’s important to know what you’re looking for. In order to know which one to choose after that, you need to know a few things about both joint compound and spackle.
Shrinkage
Both joint compound and spackle shrink when they dry, so adding a little more than you need is a good idea. But when it comes to shrinkage, spackling shrinks significantly less than joint compound does.
This is because since joint compound is used for larger projects, it has more room to shrink. But since spackle is used for small projects and repairs, it doesn’t have any space to shrink, since it is applied in small amounts.
Cost
Though both joint compound and spackling are inexpensive, joint compound is quite a bit cheaper per ounce than spackle. In fact, for lb of material, you will pay around $2 if buying joint compound.
But if you are using spackling, you’ll pay closer to $5, which is more than twice the price. So if you need a lot of compound, then joint compound is a much better option since it is cheaper and more effective for large projects.
Finishing Work
Both joint compound and spackling should be sanded after they are used. While you can be a little rougher with joint compound as it is usually applied over large areas, spackling is usually thicker in texture.
That said, if you’re not careful, spackling can also flake off and break apart if you don’t apply it properly or if you try to sand too soon. But joint compound is usually thin enough to be quite unaffected.
New Vs Old Drywall
This is an easy way to decide what to do. If you are making repairs on old drywall, use spackle, but if you have new drywall, chances are that you want to use joint compound no matter what type of project you’re doing.
On the same page, old drywall that needs completely refinished will work better if you use joint compound instead of spackle. Though both can work for small projects, if you’re refinishing, use joint compound.
Substituting
If you can only get one of these projects, let it be joint compound. Because while you can easily use joint compound in place of spackle, you cannot use spackle in place of joint compound. So this only works one way.
How To Use Joint Compound

Using joint compound can be tricky and in fact, it can be downright overwhelming if you’ve never done it before. But it doesn’t have to be. All you need to do is take a deep breath and follow certain steps.
Keep in mind that it is easy to mess up drywall though. Not permanently, of course, but if you don’t know what you’re doing, you can ensure that it needs to be redone by a professional in the end. So take care.
Step 1: Clean Area
Before you begin adding any compound to a wall, make sure that you clean it well. Don’t saturate the wall, but get a damp cloth and clean it off. Use sandpaper or a putty knife on anything stuck on the wall.
After you dust and clean the wall well, then let it dry completely before you begin using the joint compound. While you can use a blowdryer, it’s best to use a dry lint-free cloth or let the wall air dry instead.
Step 2: Apply Compound
Now it’s time to apply the first coat of compound. Apply this to the joint, where the two pieces of drywall meet. For corners, it can be difficult to apply, but do your best to add a thin layer to both walls in the corner.
Apply the compound a little wider than you need or about twice as wide as the tape. You want to ensure that the tape has compound under every centimeter of it if it is to stick well. Apply thinly, but widely.
Step 3: Apply Tape
Now it’s time to apply the tape. Measure the amount of tape that you need and then cut the tape. Try to ensure you have the right length. Too long is okay but it can be difficult to cut the tape without getting the scissors muddy.
So try to get the exact length. Then, slowly apply the tape, starting at the top for the best results. Otherwise, the tape hangs down and is hard to control. Slowly apply the tape like you would a screen protector.
Step 4: Apply Compound Over Tape
After the tape is completely down, lightly press it. Not so much that the compound is squeezed out from under it, just enough to adhere the tape down. Then, you can get ready for your next round of compound.
For this round, apply it over the top of the tape in a thin layer, running the putty knife over the tape lightly once before you apply the compound and once after. Be generous, because you can scrape the excess off after.
Step 5: Dry And Sand
Finally, it’s time to let the compound dry. It should take a few hours or up to a day depending on the thickness of the compound and brand. Check the bucket to ensure you wait long enough or lightly touch the compound.
It should lighten significantly as it dries, so this is a good sign to look for. When it does dry completely lightly sand the area before you being painting the wall or using a drywall texture with a stomping brush.
How To Use Spackle
Using spackle is actually easier than using joint compound. But it still takes practice to get right. Because it is used for repair work, you can always repair the repair work if you mess up, so take it easy and relax.

Step 1: Sand And Clean
Again, you want to start by cleaning the area well, dust it, sand down affected places, and let it dry well. But this time, you should lightly sand the area that you will be applying the spackling. Even if it is smooth.
This is because you are usually are applying the spackle to older drywall or drywall that needs to be repaired. So it’s a good idea to ensure that the area is as new as possible or like-new at least, before you start.
Step 2: Apply Spackle
Now it’s time to apply the spackle. You don’t need to apply a lot in most cases, but if there are holes, it’s important to fill them before applying the top layer, or else it will break through and the hole will reappear.
So after you do fill the hole, apply a dab on top and smooth it over. Add a little extra so that you can smooth it out after it dries. If you have more than a few inches to cover, use joint compound instead.
Step 3: Dry And Sand
Finally, it’s time to finish things off by letting the spackle dry and slowly sanding the area down. You want the repair job to be flush with the rest of the wall. Otherwise, it will look silly. So slowly sand until it is flush.

Gaining Confidence
While you may be hesitant to use either joint compound or spackle the first time, it won’t take long for you to get used to the idea. All you need to do is practice on an easy project before you begin working on something else.
Pretty soon, you’ll be wondering why you didn’t start doing it sooner! People will be coming to you for advice and tutorials. So get working today if you have a project that needs to be done. You can do it!