Colorful DIY Fabric Covered Letters

These colorful DIY fabric covered letters are the perfect addition to any shelf or mantel. I love to add fun touches of decor to my book shelves, and I am always on the hunt to find something unique to spruce them up.

These colorful letters do just that! You could even hang them up and add them to a gallery wall. I like that you can easily customize these letters by using the fabric of your choice. I went with a bright geometric fabric to add a fun boost of color to my bookshelf.

If you are really ambitious you could spell out a whole word and cover each of the letters with matching fabric. These fabric covered letters are easy to make and add a fun pop of color to your home or apartment!

DIY Fabric Covered Letter Materials:
- Fabric
- Wooden or cardboard letter
- Mod Podge
- Paint brush (medium to large will be most useful)

How to make your colorful fabric covered letters:
Start by measuring your fabric. Take a piece of fabric and wrap it all the way around one section of the letter, for example the right side of the H. Cut off any excess fabric. For the H, cut two slits around the middle so the fabric can wrap fully around the right side of the H. Repeat this step until you have pieces of fabric to fit around the whole letter.


Using your paint brush, cover the section of the letter you just cut fabric for with Mod Podge and then lay the fabric over it, pulling it tight and winding it all the way around the whole letter.

For curved letters it helps to cut a small slit in the fabric where it curves and then overlap the edges around the slit to create a smooth curve.
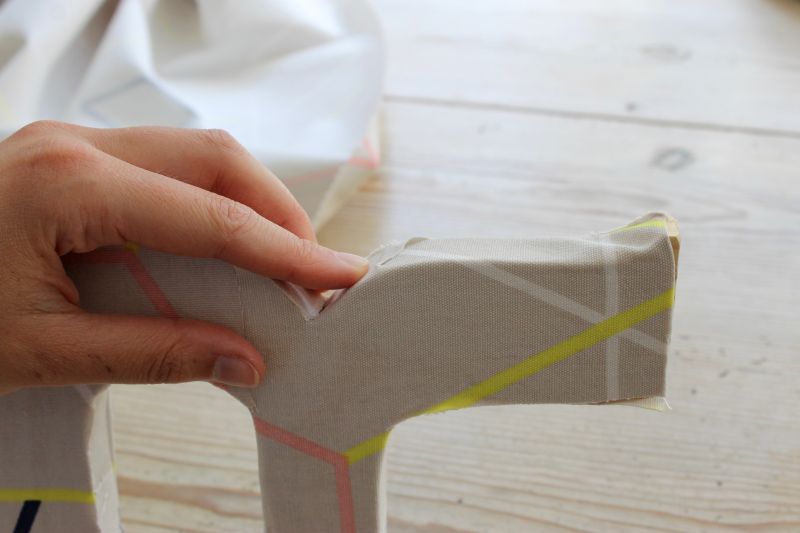


For the bottom of the letters you can fold the edges in and glue them together just like you’re wrapping a present!


Let dry and you are all set!


I love a simple DIY that adds a burst of color to my home! These fabric covered letters certainly do just that. They are super easy to make and a lot of fun to hang up or display around your home!