DIY Air Dry Clay Pineapple Planter

It’s that fantastic time of year when everything starts getting green again. The world becomes a more hopeful place and we start to make summer plans. It’s also the time when prints and designs become much more summery as well.

First, off we move away from the muted colours of winter and the pastel pop of spring and start injecting bright, bold, vibrant colour onto everything. Nothing says summer like a hot (insert colour here) and don’t we know it.

Another way of bringing in the summer early is to use prints. Traditional motifs like flamingos or palm trees are obvious choices and classic Hawaiian shirt —— but recently we’ve seen a resurgence in alternative prints such as fruit, especially the tropical kind. It’s no surprise really. Nothing says summer more than a Pina Colada and the main ingredient? Pineapples!

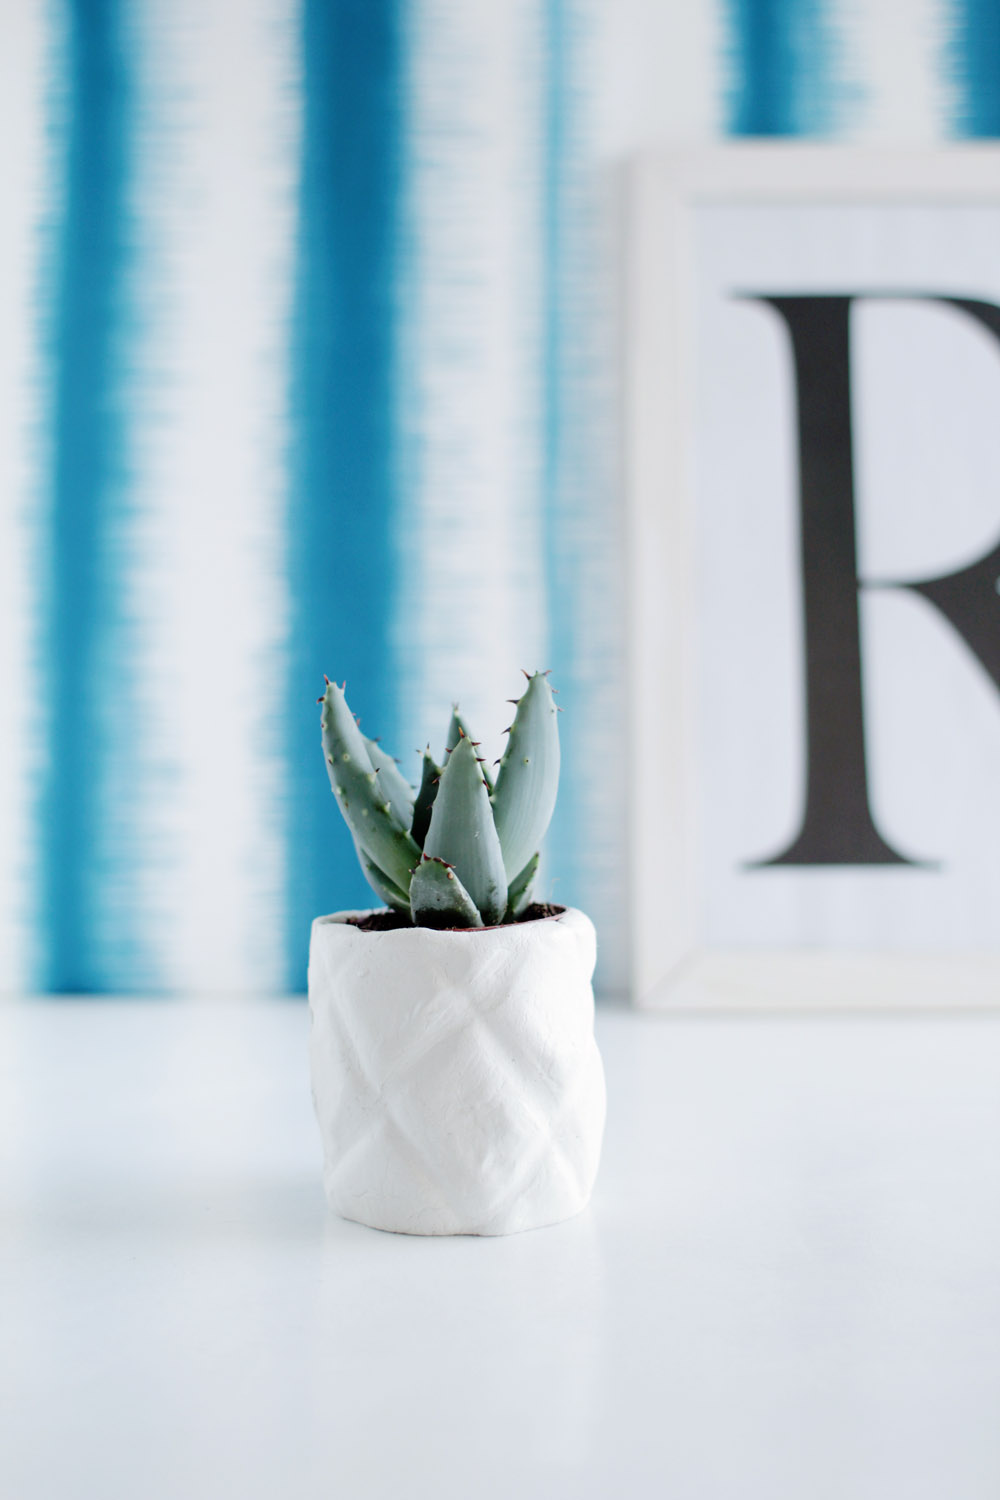
Pineapple decor has made it big time and one of my favourite ways to showcase the fruit in your home is using plants. Here’s my take on the pineapple planter. Choose the correct leaf and your plant turns into the green top of the pineapple. Cute and clever! Need I go on?
Materials you’ll need for air dry clay planter:
- Air dry clay
- Mini succulent in a pot
- Clay roller
- Cookie cutter
- Lino cutter
- 2 x 0.5mm pieces of wood
- Plastic bag
- Ruler
- Craft knife

Instructions to build the air dry clay planter:
Step 1. Create an air dry clay ball
Wet your hands and work the moisture into a fist sized ball of air dry clay. When the clay is soft and malleable place it on a glossy surface or sheet of baking paper to roll out. Put the sheets of wood either side making sure the roller can rest on both of them.

Step 2: Rolling
Start rolling the clay out until the roller reaches the sheets of wood. Roll along them to create an even thickness of clay all the way along.

Step 3: Mold
Pick a cookie cutter that is slightly smaller than the diameter of the top of the plant pot. Press down firmly into the clay to create an even circle. This will make the base of the pot.


Step 4: Make another ball
Ball up and roll out the clay another time. This time cut out a long rectangle using a ruler and craft knife to create creat straight edges. This will make up the side of the pot, so before going any further make sure it will fit all the way around the base.


Step 5: Lino cuttuer
Using a large attachment on the lino cutter, drag the pointed side over the surface of the clay to make an indent. Start at the corner and make diagonal lines at equal intervals along the whole of the rectangle, keeping them as straight as possible.


Once you have worked your way to the other side of the clay make your way back again. This time creating diagonal lines going in the opposite direction as before – spacing them evenly again.


Step 6: Create the pattern
Dip your finger into water and begin to smooth over the lines you’ve just created. Run your finger over all the grooves several times to give them a nice, even look.


Step 7: Measure
Once again measure the rectangle around the base of the pot and cut to size. Using water slowly and carefully begin to seal the two ends of the rectangle together by smoothing over the clay on both sides. This can take a little bit of time to do well so be patient and make sure you’re using lots of water to help the process. Once you’re happy use the same technique to secure the sides to the base of the pot.

Step 8: Rounded corners
We want to make our pineapple slightly rounded to make it look even more authentic. Using your thumb inside the pot gently push out at the middle, stretching the clay all the way around. If the clay has dried out by this point it might start to crack. Add more water to the outsides of the pot and smooth over any cracks that have appeared.

Step 9: Dry over night
Leave the pot in a safe place to dry and harden over-night. Go back and sand any imperfections you might have missed and deepen the indents of the pineapple if you need to. Wrap the bottom of the plant pot in the plastic bag and secure with an elastic band. Succulents don’t need a lot of water so the bag should be enough to catch the excess if you water little and regularly.