DIY Coat Rack – Tutorial and Inspiration
One size doesn’t always fit all. You might have a tiny foyer, or crumbly plaster walls that can barely hold a push pin. You might even just prefer the cute hooks and knobs that you’ve collected from various places. Whatever the reason, here’s some ideas and tips for making your own coat rack.

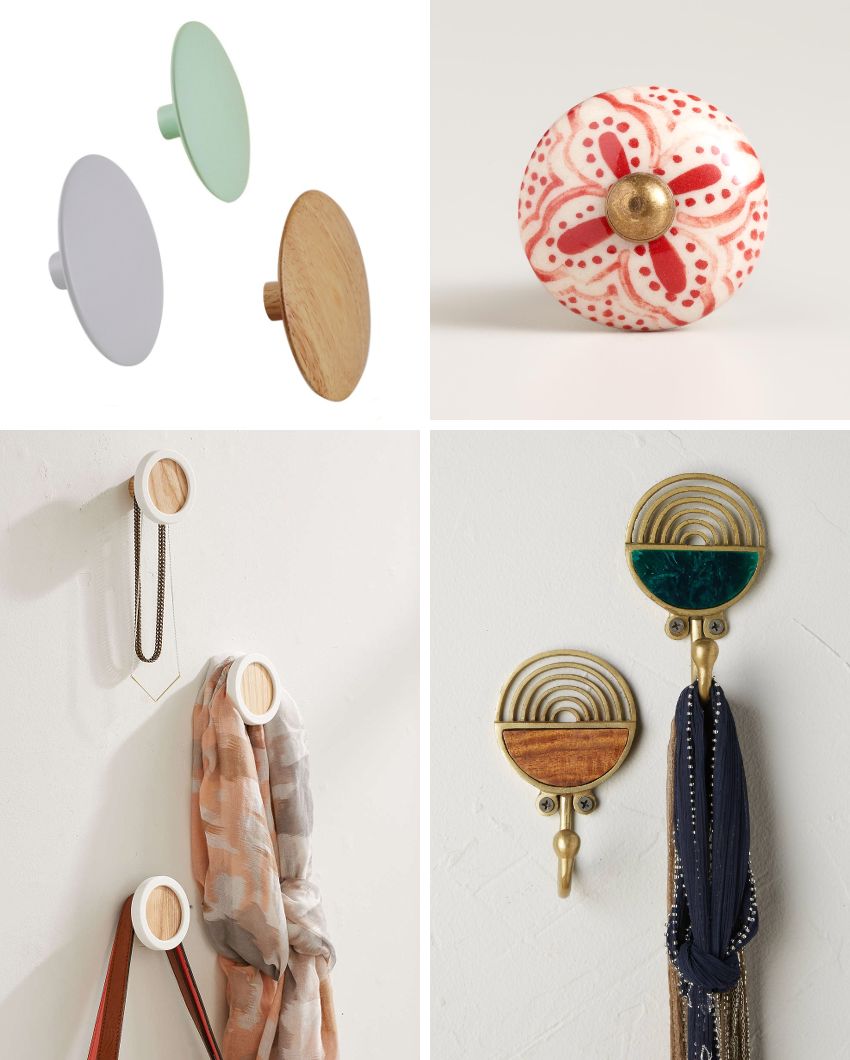
Wood, ceramic, metal, or a combination can all look adorable. It’s easy to make a backing board for pegs, it just takes some careful measuring. The backing board ensures that the hooks can take some weight.

Materials:
- 5 hooks, knobs or pegs (my pine peg hooks came from Kmart Australia)
- 24″ x 6″ piece of plywood, at least 1/2″ thick
- Straight-edge ruler and pencil
- Drill
- Studfinder and 6 countersunk timber screws, 3″ long (for screwing into studs)
- Optional: PVA wood glue, painter’s tape, primer and paint

1. On the plywood backing, mark and measure 5 lines at these distances apart:
3″ —— 4.5″ —— 4.5″ —— 4.5″ —— 4.5″ —— 3″
So each line is 4.5″ apart, with a 3″ gap at each end.


2. Mark the center of each line. If your hooks or knobs will sit in the center, drill through each midpoint.(If your hooks have a large backing like these ones, measure the midpoint on these as well and line them up with the plywood.)

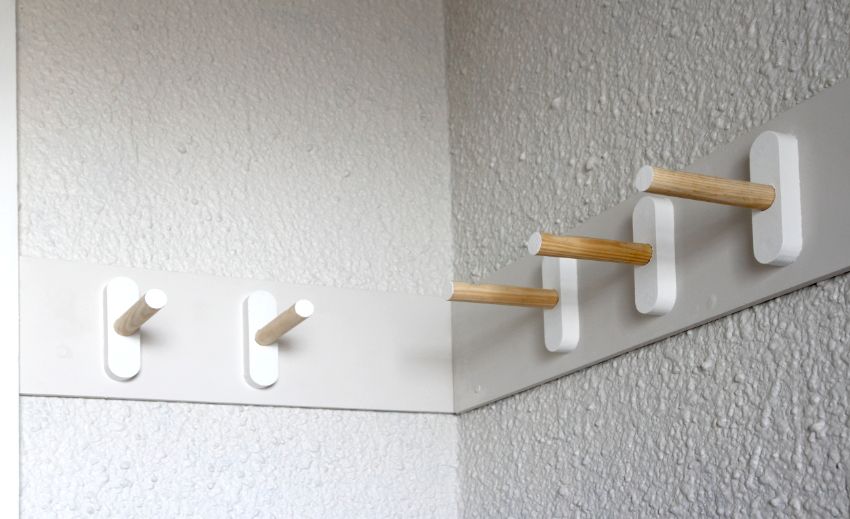
3. Arrange your hooks on the same place on each of the five lines, then secure them to the backing. This might be through a screw on the back, tiny screws on the front, or – in this case – PVA wood glue (with tiny screws).
The glue would have held these hooks in place, but just to be sure, I added screws. I also covered the screw holes with spackle filler, just to give them a polished finish.

4. Finish the backing board – whether you want to add paint, varnish the wood, or leave it raw. I painted this board a light gray to match the wall it’d go on, and put some semi-gloss white paint on the hook bases. The board and bases were given a coat of primer first.

5. Hang the rack on the wall. Use a studfinder to mark where the studs are in the wall, drill through the board in four places that will line up with studs, and then screw in the 3″ countersunk timber screws. I also touched up the screw heads with spackle and paint to hide them.
(NB: My rack was modified from the instructions list, as it wrapped around a small corner of this mudroom. I left extra space in the corner to leave clearance for hooks and coats.)
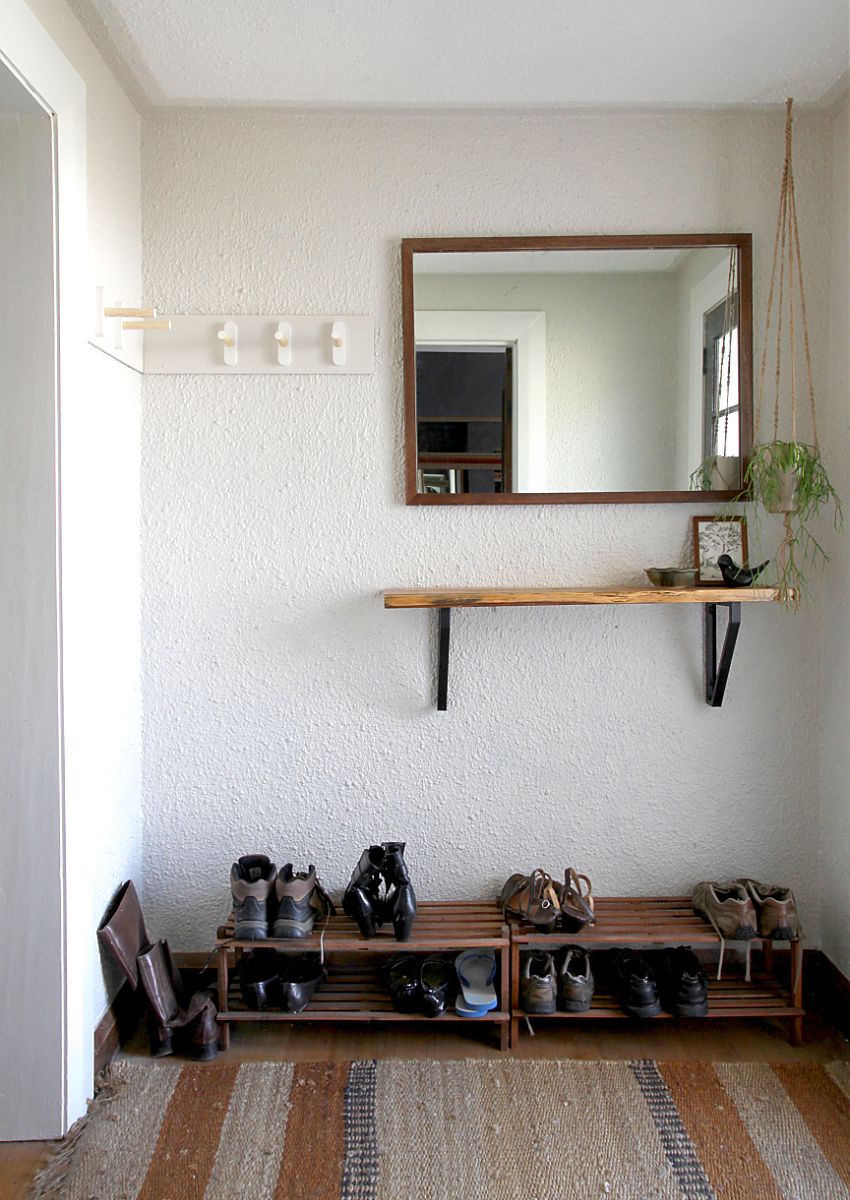
That’s it! The coat rack is ready to go.
In making your own coat rack, you get the fun and variety of custom hooks with the sturdiness of a backing board. With the right fixings, you can make sure that each hook can hold its rated weight and then some.

These hooks won’t budge under heavy wool coats any time soon! Talk about beautiful and functional.